As many of you know, Trigger is the product of software development agency, NetEngine. We use Trigger every day and not surprisingly, a lot of the features (much like the conception of Trigger itself) were borne out of our own frustration, desire to cut out double handling, and improve processes.

One particular instance of this spurred our integration with Bugsnag. At NetEngine, we heavily rely on Bugsnag to identify bugs during our software development lifecycle. I noticed a large inefficiency when creating a task in Trigger to solve an issue detected in Bugsnag. As Bugsnag gives you all the information needed, it was a matter of copy and paste to create the Trigger task. Hardly a function that requires a human brain.
Finally, I asked myself
“What if we could create an integration with Bugsnag that created the Trigger task in one click?”
I decided to ask support immediately and I soon received a reply from Dave at Bugsnag saying he would be happy to integrate with Trigger and he got straight to work. Very quickly the integration was live and ready to go on Bugsnag!
It was fantastic news! I was so excited to see the Trigger icon in the list of official integration services! I gave it the first test and the integration went off without a hitch.
Want to Setup the Integration with Trigger in Bugsnag?
It’s easy!
- You should navigate to into Bugsnag menu Settings -> (Project properties) -> Configure Integration
-
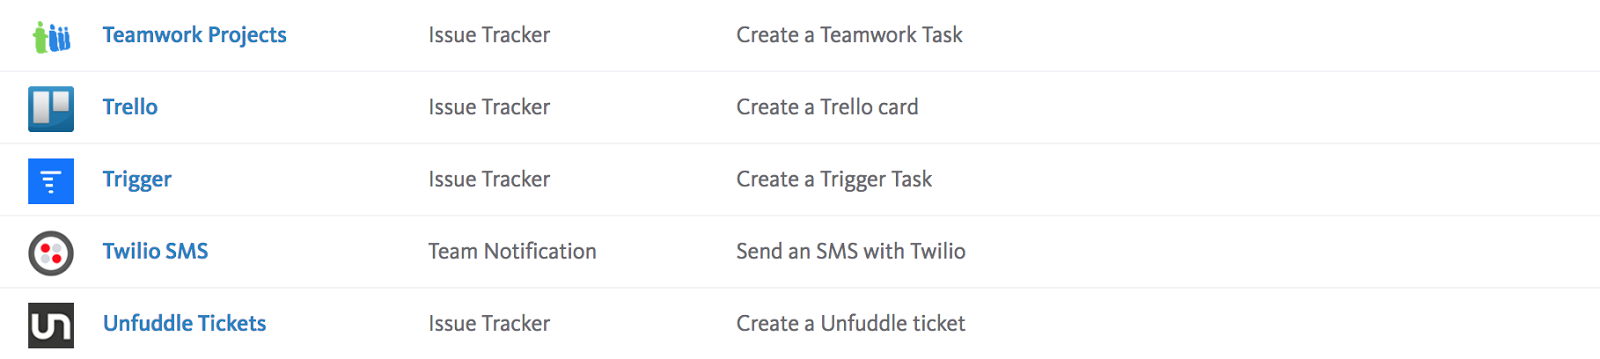
Then you will see list of available services, find Trigger (using cmd + F for example)
-
Click on Trigger link, you will see configuration form
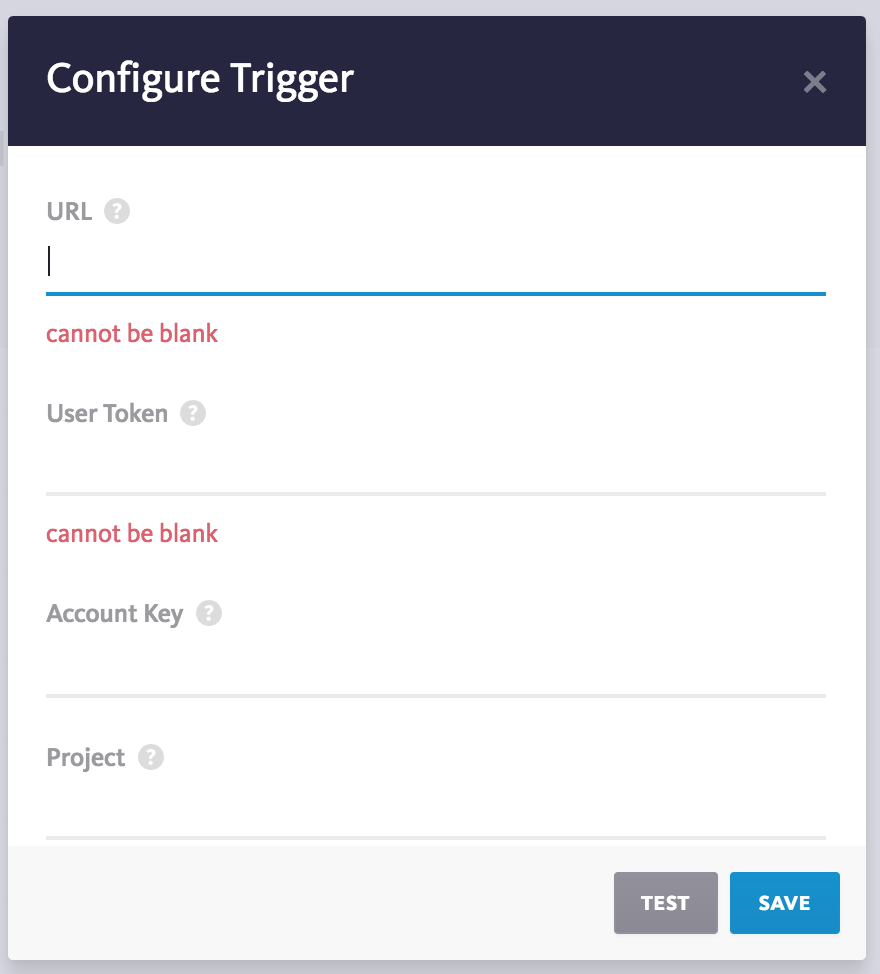
URL: it’s just the url to the Trigger API, like https://triggerapp.com/api/v1/
User Token: It’s your Trigger User Token (you can take it from your Trigger profile page here
) Account Key: It’s your Trigger Account Key (you can take it from your Trigger profile page as well)
Project: It’s just your existing project name under your account. For example, if can be ‘Bugfixing’ or ‘Production Issues’ -
Click on TEST for connection testing and SAVE to save configuration!
- Profit!
Enjoy the integration!
Cheers, Sergey
If there’s an integration you’d like to see please contact our support team via [email protected]